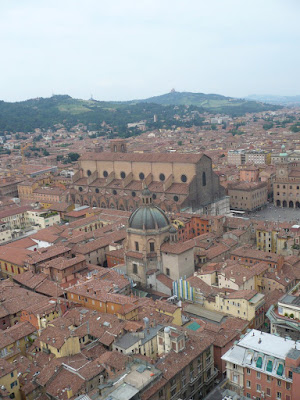
1. Open your image in your program save a new copy of it before you start editing.
I picked this one because the focal part, the long building, is not very obvious, but I don't want to crop the photo. Selective colouring will highlight the building without losing the rest of the scene.
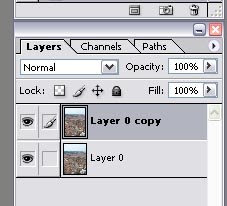
2. Duplicate the layer
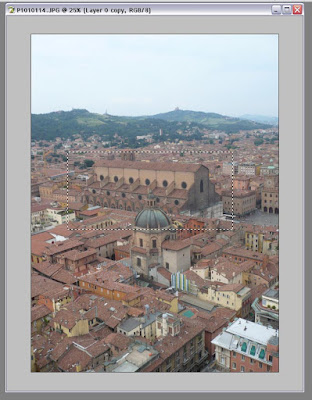
3. On the top layer, select the portion of the photo that you want to be in colour - just do a basic square just now, if you want to make it shaped you can do it later.
4. Reverse/invert the selection (in Photoshop, there is a Selections menu at the very top...) and delete, so only the part of the image you want coloured is visible. (it won't look different yet because the same image is underneath!)
5. Select the lower layer by clicking on it in the layer palette. Desaturate the whole thing. Now you should see your coloured part against the b/w part.
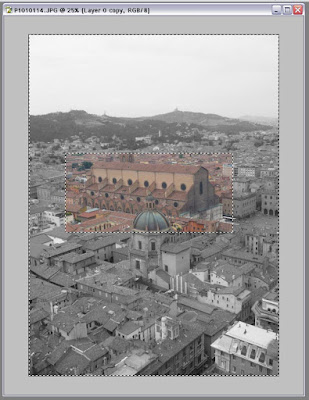 6. At this stage, you may want to keep the colour just to your focal object - the building in my picture. Select the top layer again, the coloured one, and make sure there are no marching ants indicating selections. Then take the eraser and simply rub out all the bits that are coloured which you don't want to be. If you make a mistake, simply undo.
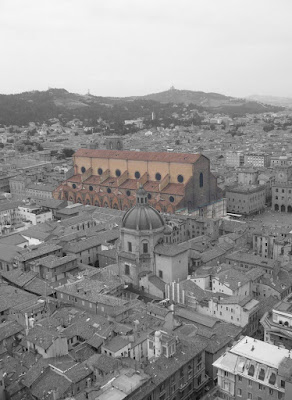
If you know how to use masks, you can use those instead of erasing and deleting parts of the top layer. That way if you rub out a bit you don't mean to, or you change your mind and want more of the image in colour, you can just draw it in. If you don't know masks, there are loads of tutorials on the web, so just google it!
Thanks for looking
Katie
1 comment:
Hi Katie thank you so much, going to copy-paste this and use it LOL
Post a Comment